Create a project
In Coscine data is organized within projects. This means that you always have to create a project first, to which you can then assign further members and add resources in a second step. You can recreate the tree-like structure of a large project by creating subprojects.
Create a project
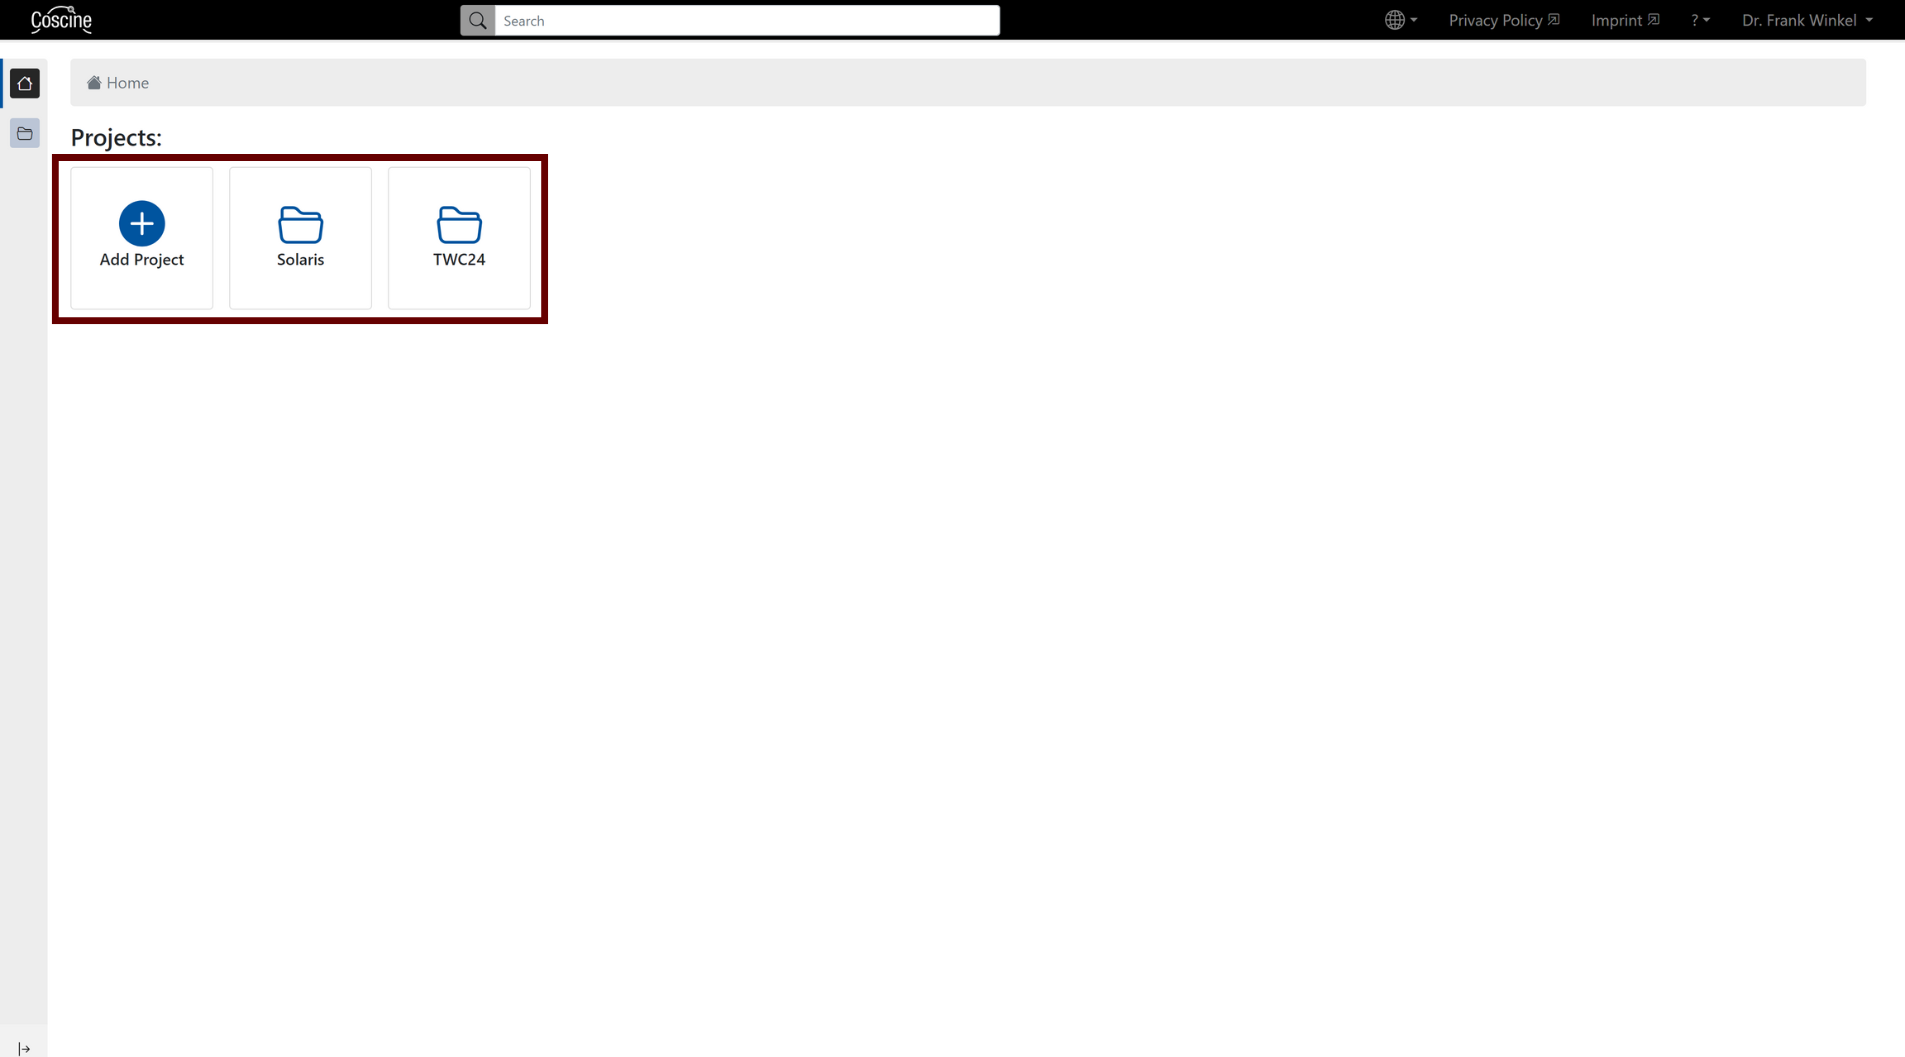
Navigate to the Coscine home page (via the Coscine logo or home icon in the menu bar). Here you have the possibility to create a new project via the Add project button (see figure 1). The projects created are automatically sorted alphabetically according to the project name.
Coming soon: Importing RDMO data management plans
A link between RDMO and Coscine is currently being developed as part of a DMP4NFDI Incubator. If a data management plan has already been created in RDMO, the project metadata can be imported. This will make it easier and less error-prone to create a project in Coscine in the future.
Project configuration & metadata
After starting the creation process, you have the option of adding metadata to the project (see Figure 2).
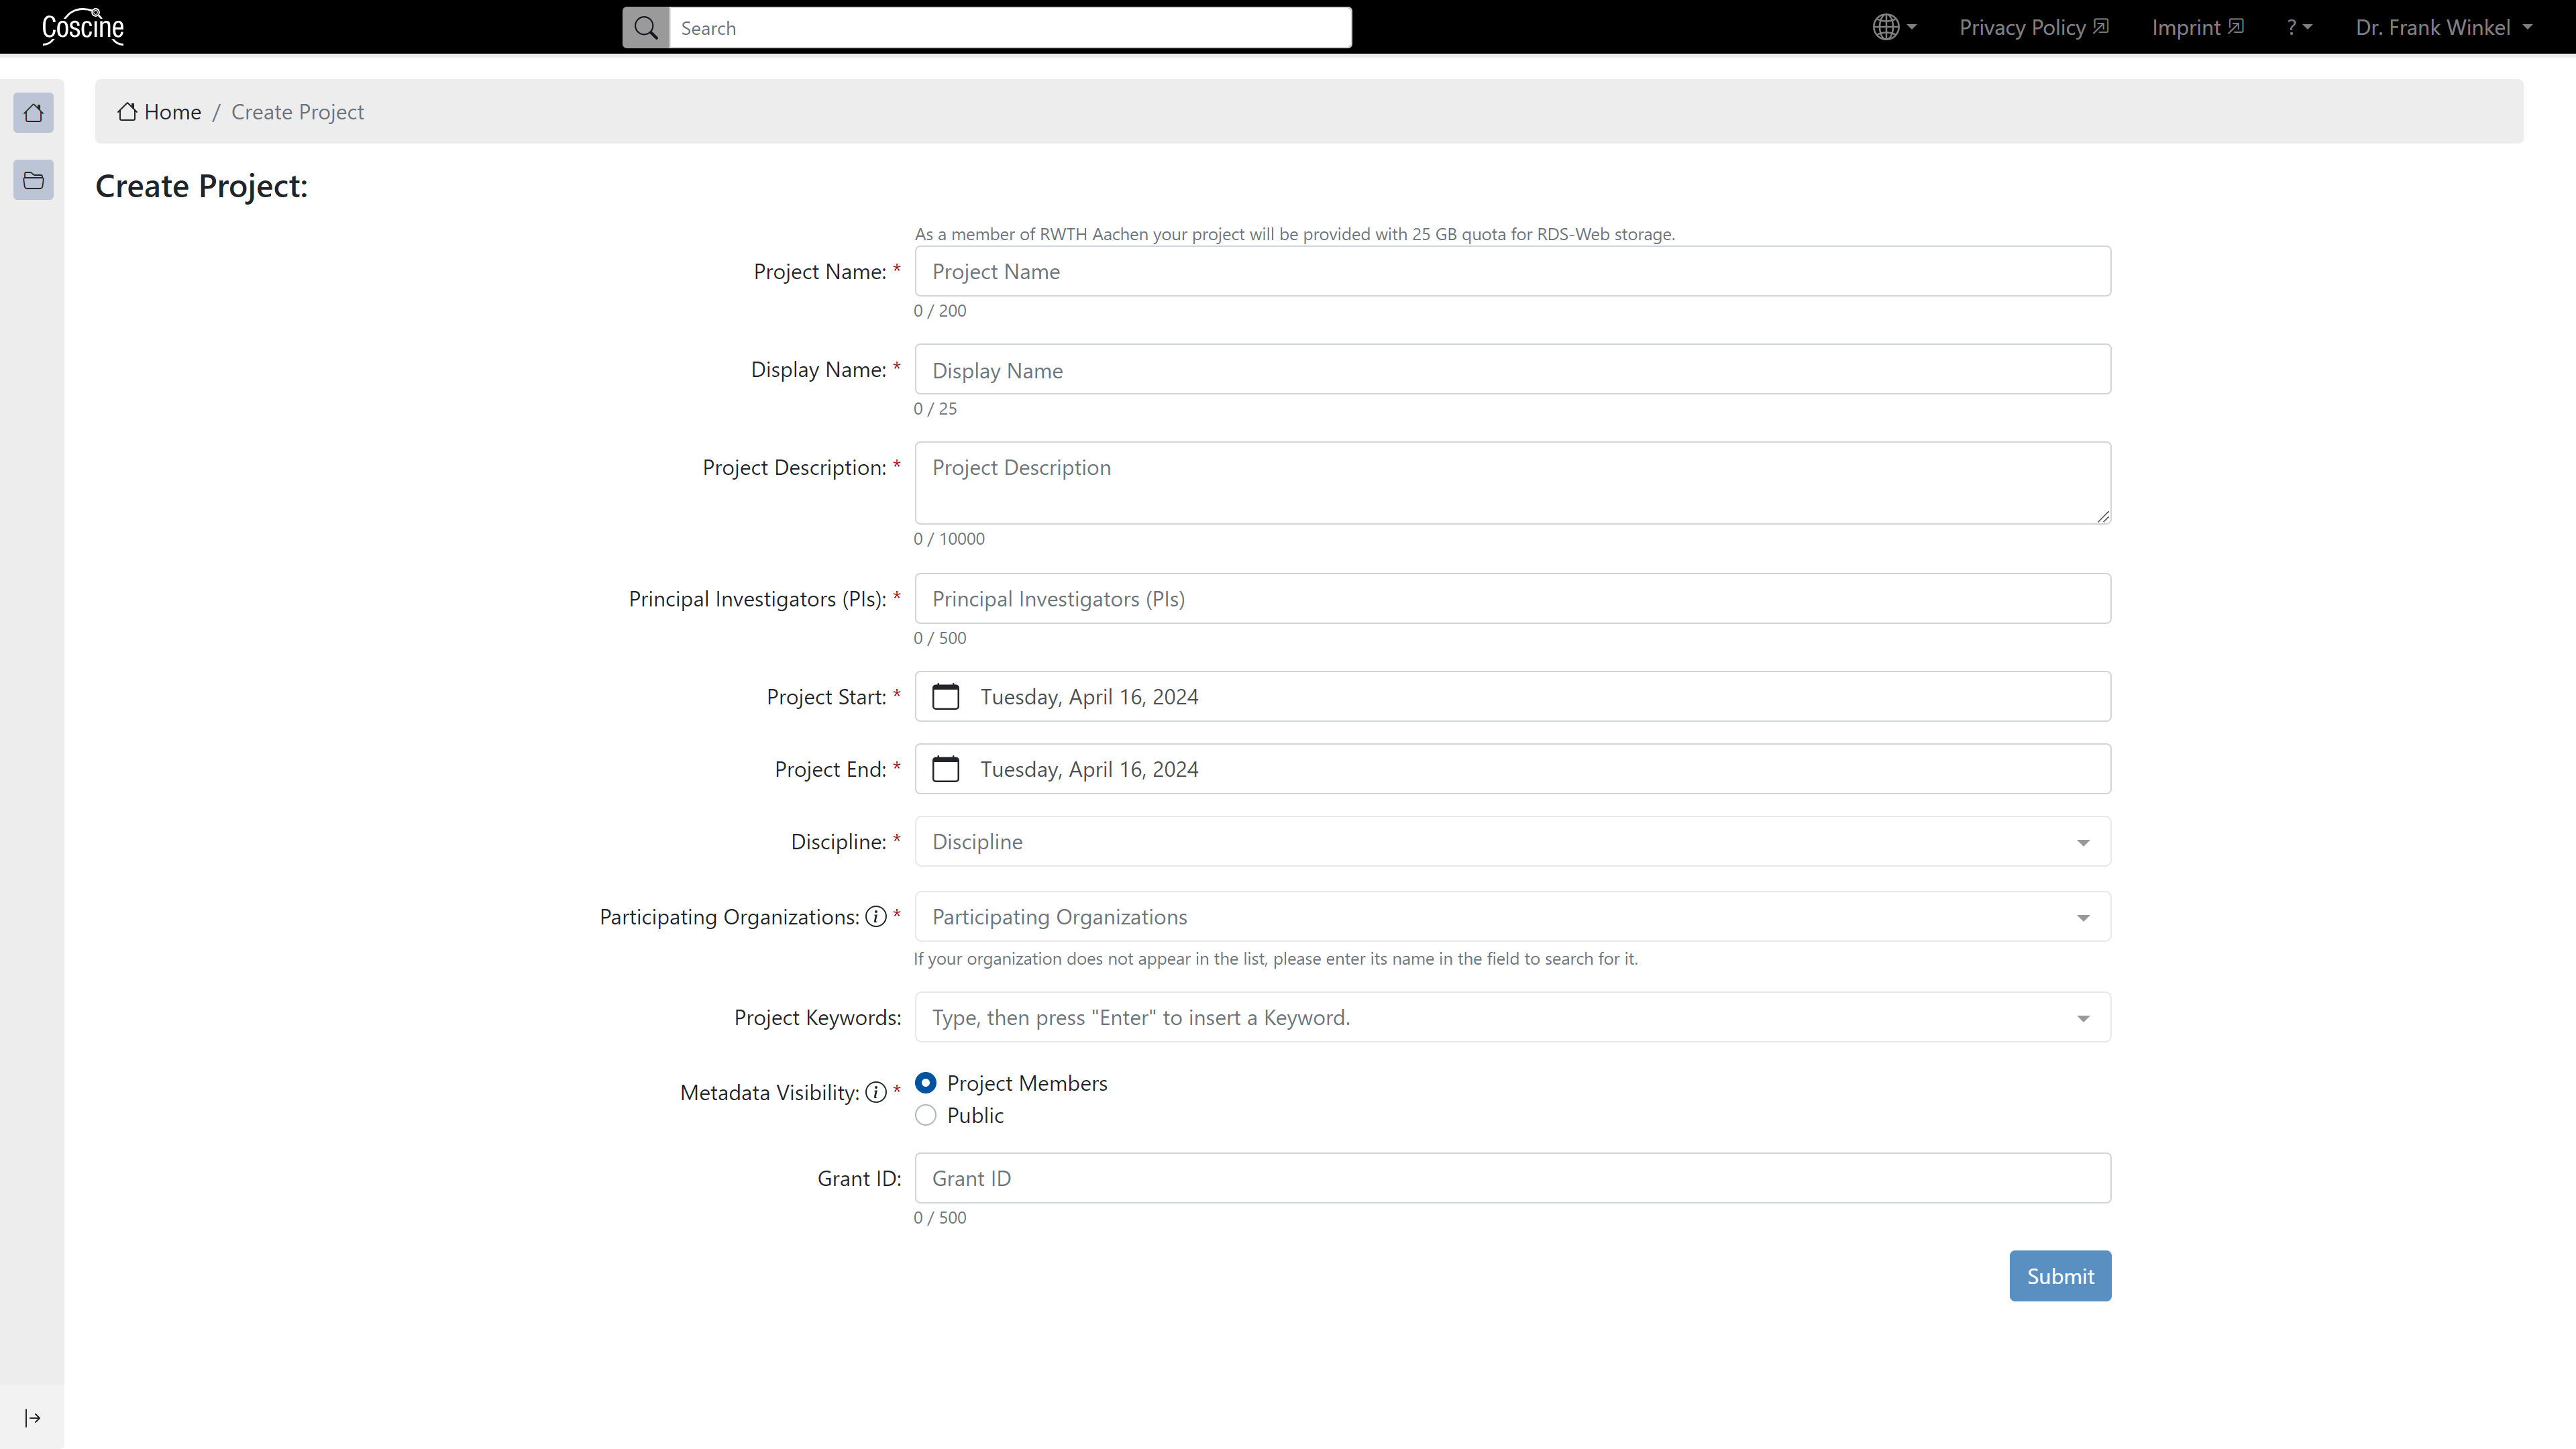
(Mandatory) Parameters
Fields marked with an asterisk (*) are mandatory fields. The table gives a brief overview of the fields and their meaning:
| Property | Description |
|---|---|
| Project name* | Name of the Project |
| Display name* | Shortened name of the project (max. 25 characters) |
| Project description* | Brief and informative explanation of the project content (max. 10,000 characters) |
| Principal investigators* (PIs) | Project supervisors (no format specified, max. 500 characters) |
| Project start* | Start date of the project |
| Project end* | (Estimated) end date of the project |
| Discipline* | Scientific discipline(s) of the project according to the DFG classification. Multiple selections are possible. |
| Responsible organization* | Responsible organisation where the project is mainly carried out. For example, it assumes responsibility for the project if the project owners can no longer be contacted. |
| Additional organizations* | Organizations involved with the project or even NFDI consortia – the organizations available for selection are based on ROR IDs and regularly updated by Coscine. The initial shown list contains the most common institutions (primarily universities). In case your organization is not listed, you can enter its name into the search box. For all organizations, the preferred label which is given by ROR, is listed.| |
| Project keywords | Keywords for better classification of the project. If you make the metadata publicly available, these keywords increase its findability. |
| Visibility of metadata* | Projects and resources can be marked as public. This means that their metadata can be found not only by Coscine users, but also via a public knowledge graph. The visibility of metadata for projects and resources is independent of one another. Access to projects and resources can be requested by other researchers. |
| GrantID | Unique funding/identification number of the project |
Hint
If no suitable organization appears in the Additional Organizations field after you have entered your search, the organization in question probably does not yet have a ROR ID. This can only be initiated by your organization itself.
Project homepage
After specifying all the necessary options, the Submit button will lead you to the homepage of your newly created project (see figure 3).
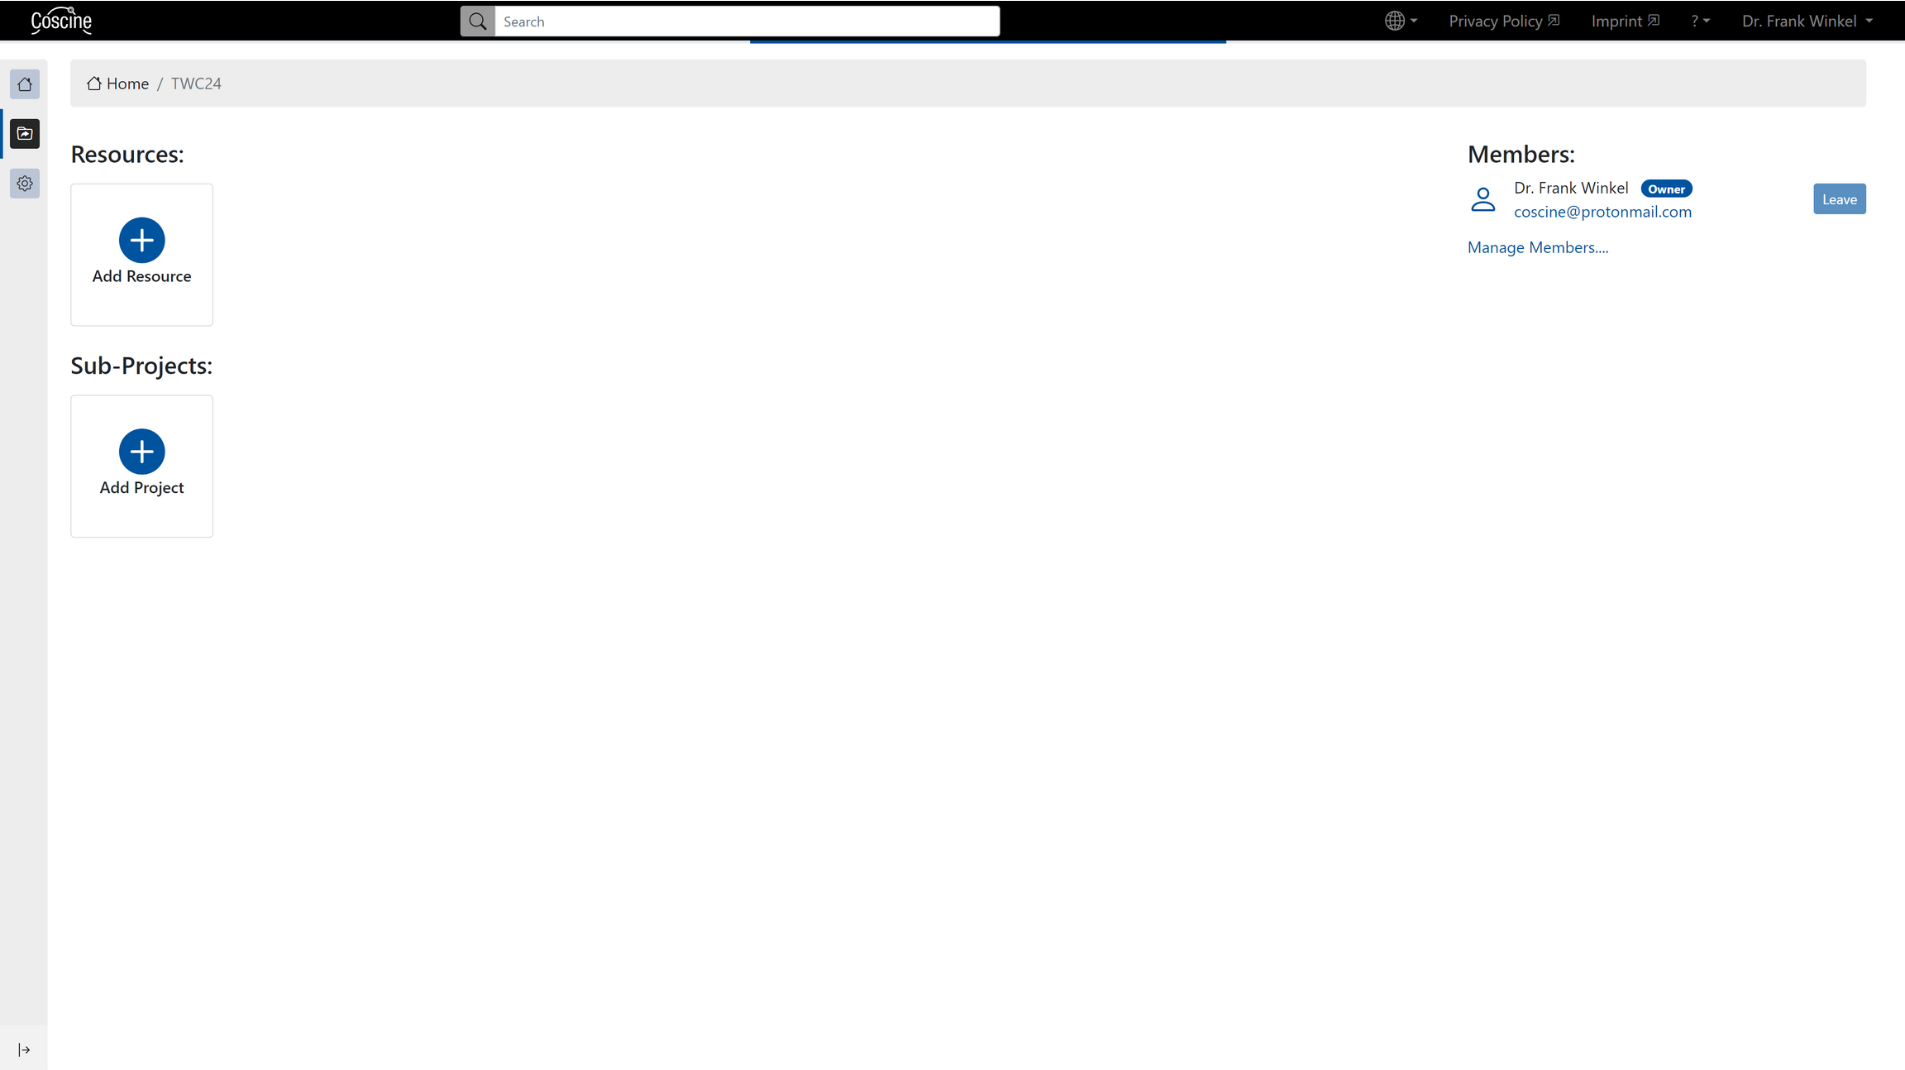
Project settings
You can edit the configuration & metadata of your project at any time, as well as manage members and quota (storage space in the project). To do this, click on Settings in the left-handed menu bar (cogwheel symbol) (see figure 3). The first option, Configuration & Metadata, which then opens, takes you back to the project input screen (see Figure 2), where you can change the metadata.