WinSCP
Exemplary configuration for an S3 client (WinSCP)
Here you will find an example of how to configure WinSCP, a free S3 client for Microsoft Windows. There are many other S3 client software that can be used for data access. Unfortunately, we cannot assist you in configuring each client. However, the general workflow should not differ too much from client to client, so after working through this guide you can make appropriate adjustments for the S3 client of your choice.
Based on WinSCP version 6.5.3
1. Installation
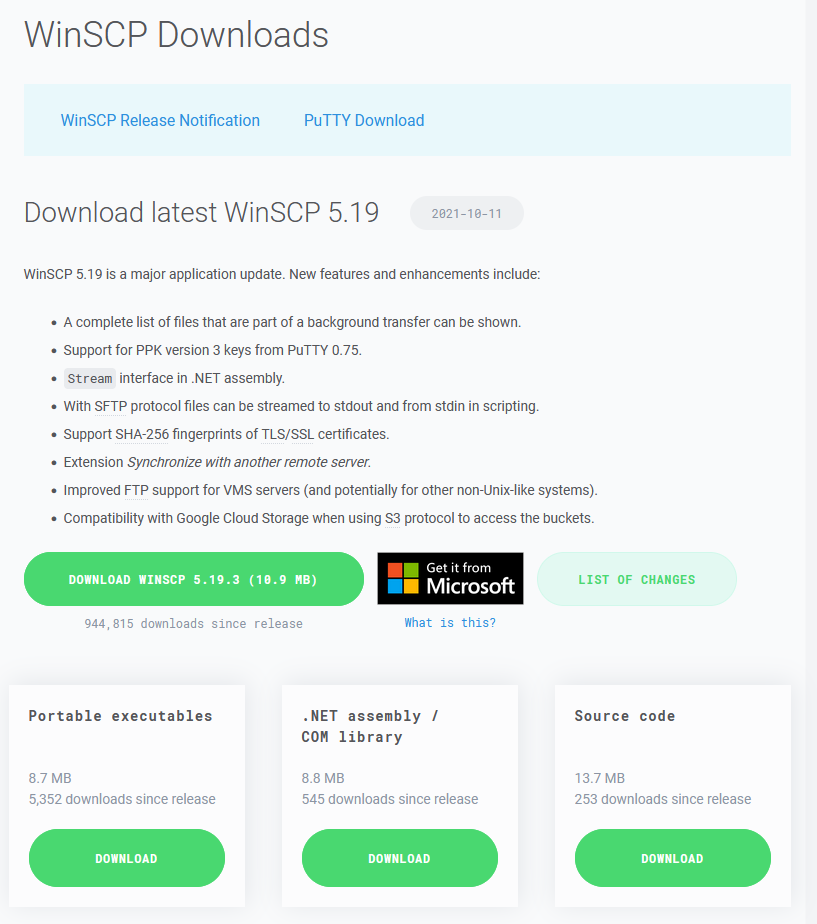
Download WinSCP and run the installation program.
For the installation you need admin rights.
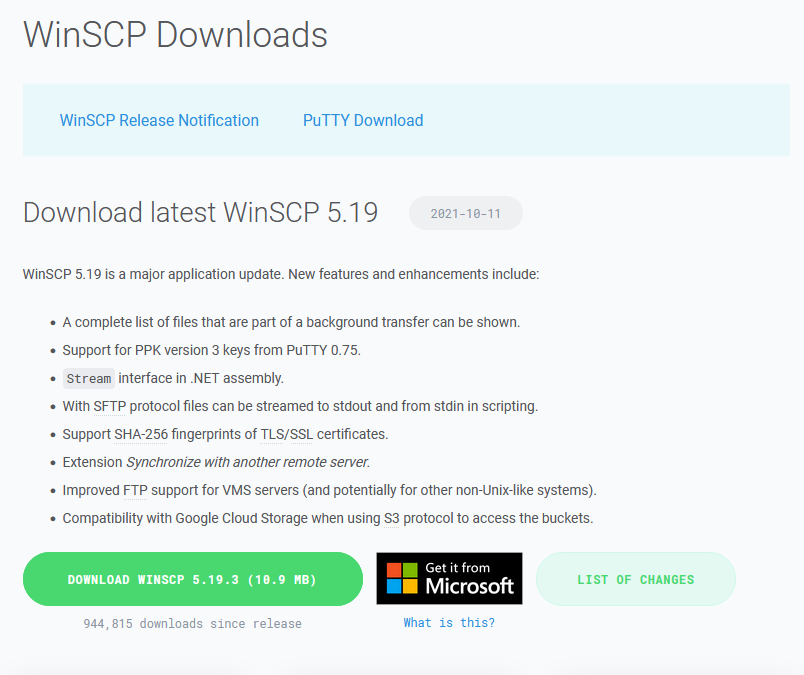
Alternatively, you can download the portable version, which you can use without installing and thus without admin rights. We will work with the portable version in this tutorial. Therefore there is no extra installation guide. If you need help with the installation, you can consult the WinSCP Documentation.
2. Configure a new connection
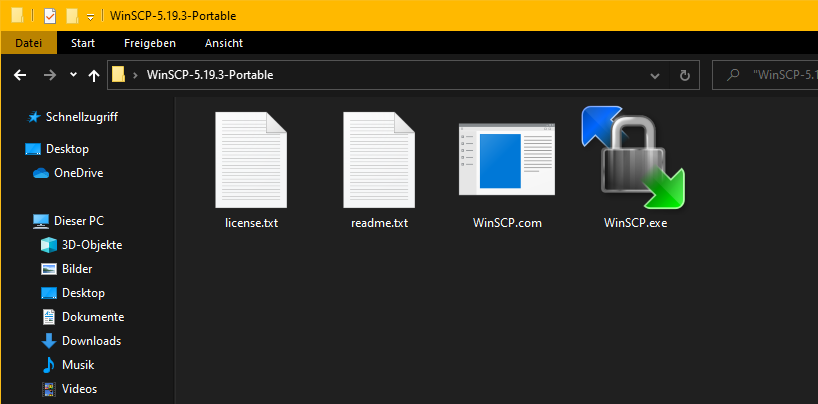
Start WinSCP via the WinSCP executable:
Immediately after startup, an input window will open, allowing you to configure a new connection.

Select Amazon S3 in the File protocol field and copy the values listed in the table below into the respective fields of the input mask.

Please refer to the resource configuration in Coscine or RWTH Publications for the values to be entered. In the case of RWTH Publications, you will find the document ‘Datenzugang_DataAccess.pdf’ for your data record. All relevant data is stored there. Proceed as follows:
- Transfer protocol: Amazon S3
- Server address: global.datastorage.nrw
- Port number: 443
- Access key ID: Access Key
- Secret access key: Secret Key
- Under
Advanced-->Environment-->Directories--> Remote directory:Bucket Name - Under
Advanced-->Environment-->S3--> URL style:Virtual host - Click
OK
3. File and folder actions
Select the files you want to interact with and right-click on them. A context menu will open, allowing you to perform various actions on the selected files. The actions include download, edit, rename and delete.
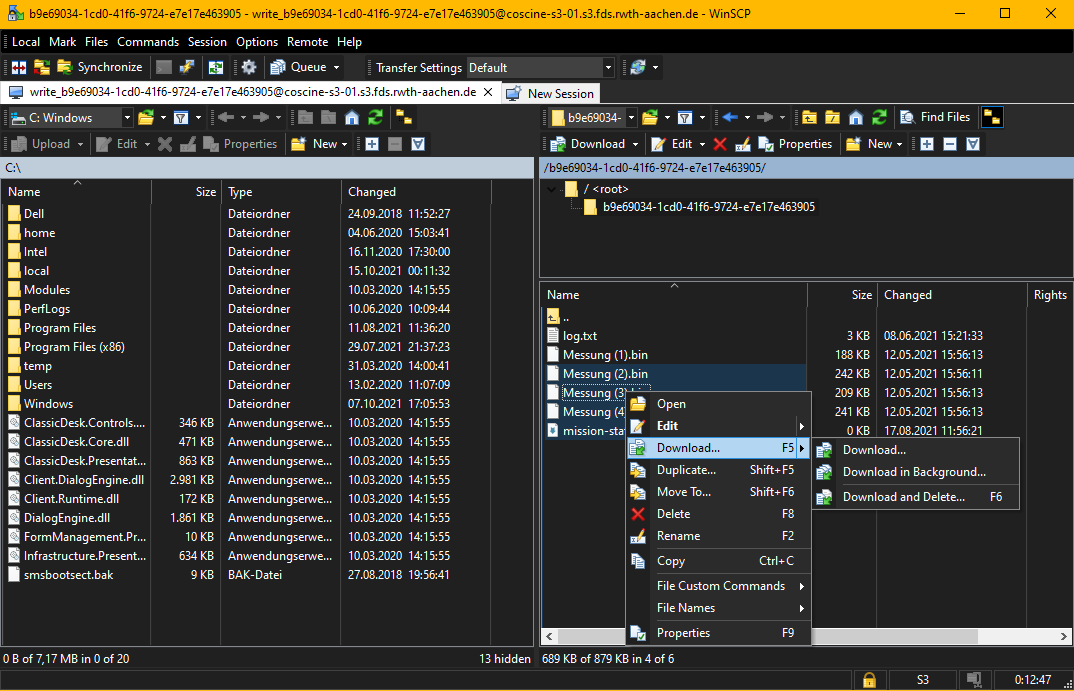
Folder show different behavior then files in some cases. More details can be found under the file-handling documentation. In WinSCP deleted folders will still be displayed, if file versions are present inside of the folders. This can be confusing, as the files themselves are not displayed. Deleting those folders might not be possible until the file versions are expiring.
4. Performance and Settings
Defaultsettings of WinSCP have been reported to result in slow transfer speeds in some cases. There are different settings you can try to adjust to improve the speed of uploads and downloads.
Performance gains can differ by device, network- and client-settings, especially when other aspects are the bottle neck factors in the data transfer. In general it is recommended to do a "Speedtest" for measuring the capability of your device and network regarding uploads and downloads.Often times it is not the S3-client that is the bottleneck. Measurements can be done quickly via many different providers, like the Broadband measurement of the german Bundesnetzagentur and the in-browser measurement option.
Encryption
Encryption costs computing power. Especially devices, where the CPU is the limiting factor will be slowed down regarding transfers. Especially transfers of many small files are affected, cause the encryoption get slowed down by synchronisation processes and because it costs additional computing time to encrypt and because the filsize grows a little bit through the encryption.
In case you are sure that you do not need the encryption the client provides, you might want to disable this option in the settings.
You find the option by following the menue path : Options -> Preferences -> Transfer.
There you can click on Edit for a selected profile and deactivate the checkbox encrypt new files in the dialogue window that opens up.
Buffer settings
In the login dialog, where you add server and port, you can press the button Advanced.
After the popup window opens, navigate to Connection in the menu. There you can find a checkbox Optimize connection buffer size which you can deactivate.
Number of Connections
In the menue under Options -> Preferences -> Transfer -> Background you find the option to set the maximal number of transfers at the same time.
Increasing this option to 4-6 might improve the speeds for transfers with lots of small files. Larger file transfers might benefit from a value of 1-2.
Change to an other client
Because the S3-Clients are developed by third party providers, Coscine can not guarantee a good performance at all times. Therefore the easy fix for problems might be the switch towards a different client, like for example Cyberduck or MinIO.