Cyberduck
Here you will find a sample guide on how to configure Cyberduck, a popular S3 client. Cyberduck is free, open-source software. There are a number of other S3 client programmes available that can be used to access data. Unfortunately, we are unable to assist you with the configuration of every client. However, the general workflow should not differ too greatly from one client to another, so that once you have worked through these instructions, you will be able to make the necessary adjustments for the S3 client of your choice.
Cyberduck (Windows)
Based on Cyberduck Version 9.3.1
1. Installation
Download the client and install it on your PC:
https://cyberduck.io/download/
If you prefer to work via the command line, you can download a version of the Cyberduck Command Line Interface at https://docs.duck.sh/cli/. However, Coscine does not provide support for this.
The installation requires Adminstrator privileges.
Alternatively, if you have the necessary expertise, you can also compile your own version. You can find the source code for this at https://github.com/iterate-ch/cyberduck.
2. Configuring a new connection
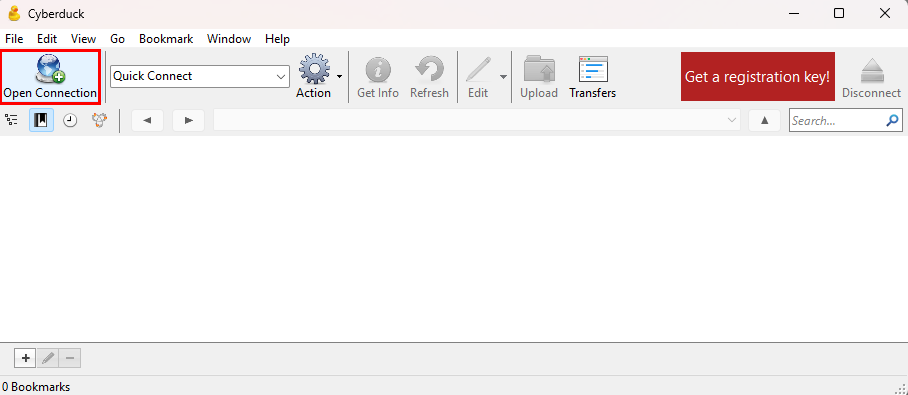
Create a new connection by clicking the Open Connection button.
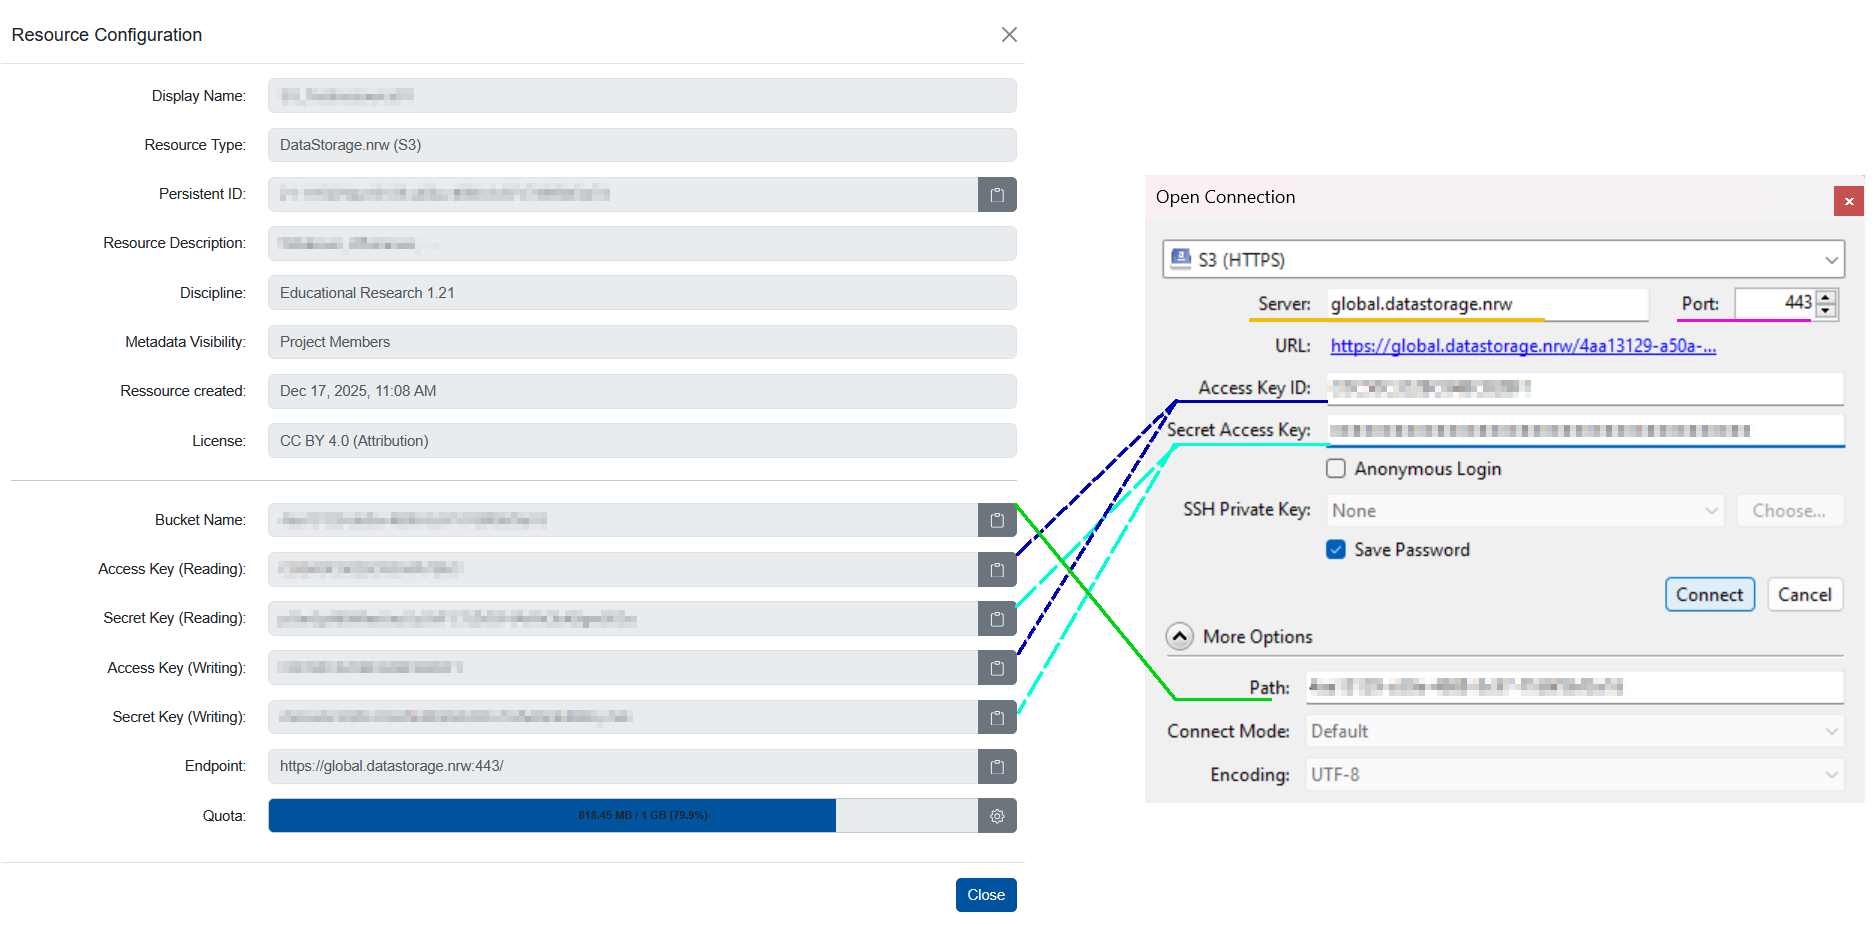
In the connection configuration, you must now enter the access details for your data. There are five fields to fill in in total – please refer to the Resource Configuration in Coscine for the relevant values. Figure 2 shows an overview of a mapping.
If you are using the Cyberduck Command Line Interface instead of the graphical user interface, please note the following:
Hint
When connecting to DataStorage.nrw resources, the hostname must be specified using the Virtual Host style. Using the Path style may result in connection problems.
Connection parameters for DataStorage.nrw resources
The following data from Coscine must be entered into Cyberduck in order to establish a connection. For the Access and Secret Keys, you can choose either the pair for read access or the pair for write access.
| Cyberduck | Coscine |
|---|---|
| Server | global.datastorage.nrw |
| Port | 443 |
| Access Key | Access Key (Reading oder Writing) |
| Secret | Access Key Secret Access Key (Reading or Writing) |
| Path | Bucket Name |
3. Establishing a connection
Now that you have entered all your login details, you can connect. To do this, click the ‘Connect’ button (Fig. 2).
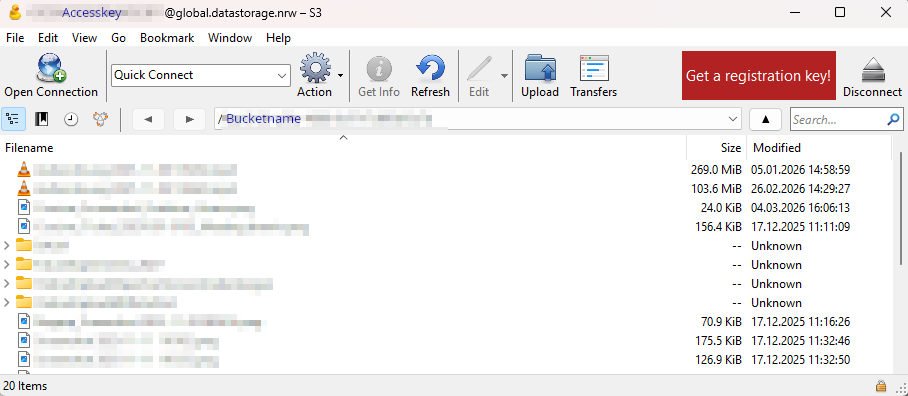
If all the login details have been entered correctly, you should now see a list of the files contained in the dataset. If a certificate error occurs, please refer to the troubleshooting information below.
4. Uploading and downloading files
Files can be easily uploaded to the bucket via drag and drop once a connection has been established. Depending on your settings, Cyberduck will save and open the last directory you were in, so you can start transferring data straight away.
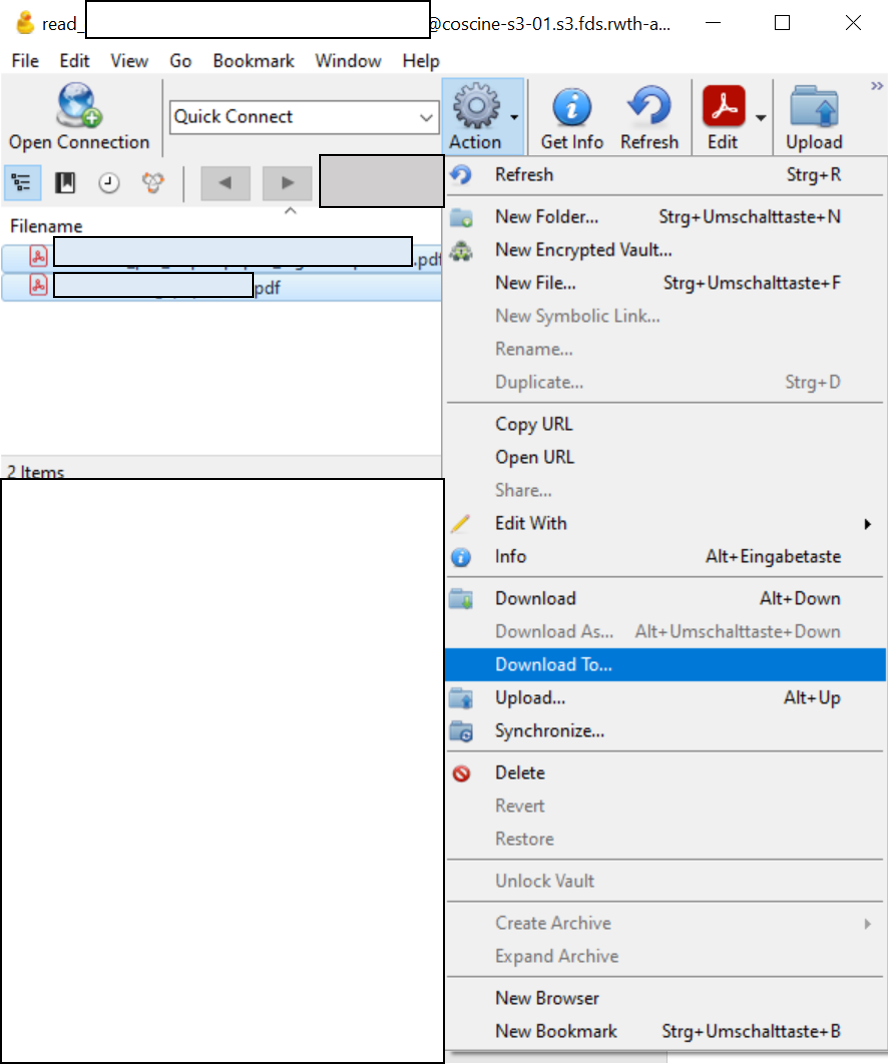
There are several ways to download files. You can select the files you wish to download and right-click to open a context menu, which will display the relevant option. Alternatively, you can select the ‘Action’ button in the menu and choose Download To... from the drop-down menu. If a certificate error occurs, please refer to the troubleshooting information below.
5. Folder actions
Folder show different behavior then files in some cases. More details can be found under the file-handling documentation. In Cyberduck deleted folders will be displayed if file versions are present inside of the folders. This can be confusing, as the files themselves are not displayed. Deleting those folders might not be possible until the file versions are expiring.
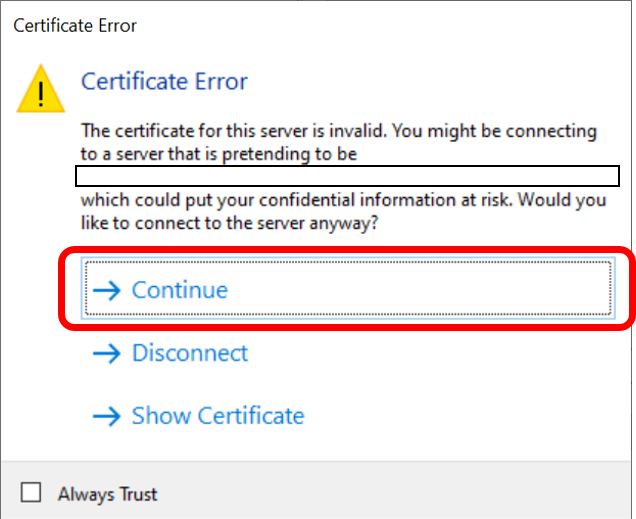
6. Troubleshooting
If a certificate error occurs whilst connecting or downloading, you can ignore it. Select ‘Continue’ to proceed with establishing the connection.
Cyberduck (Mac OS)
Based on Cyberduck Version 7.9.2
The Mac and Windows versions of Cyberduck are very similar, apart from the design of the user interface. For this reason, we refer to the Windows version as described above and will focus primarily on the differences here.
1. Configuring a new connection
In the Mac version, a new connection must be created using a different method, as the option via the button that appears to be the correct one in the user interface does not include the necessary input fields for the "advanced options", meaning that the path cannot be specified.
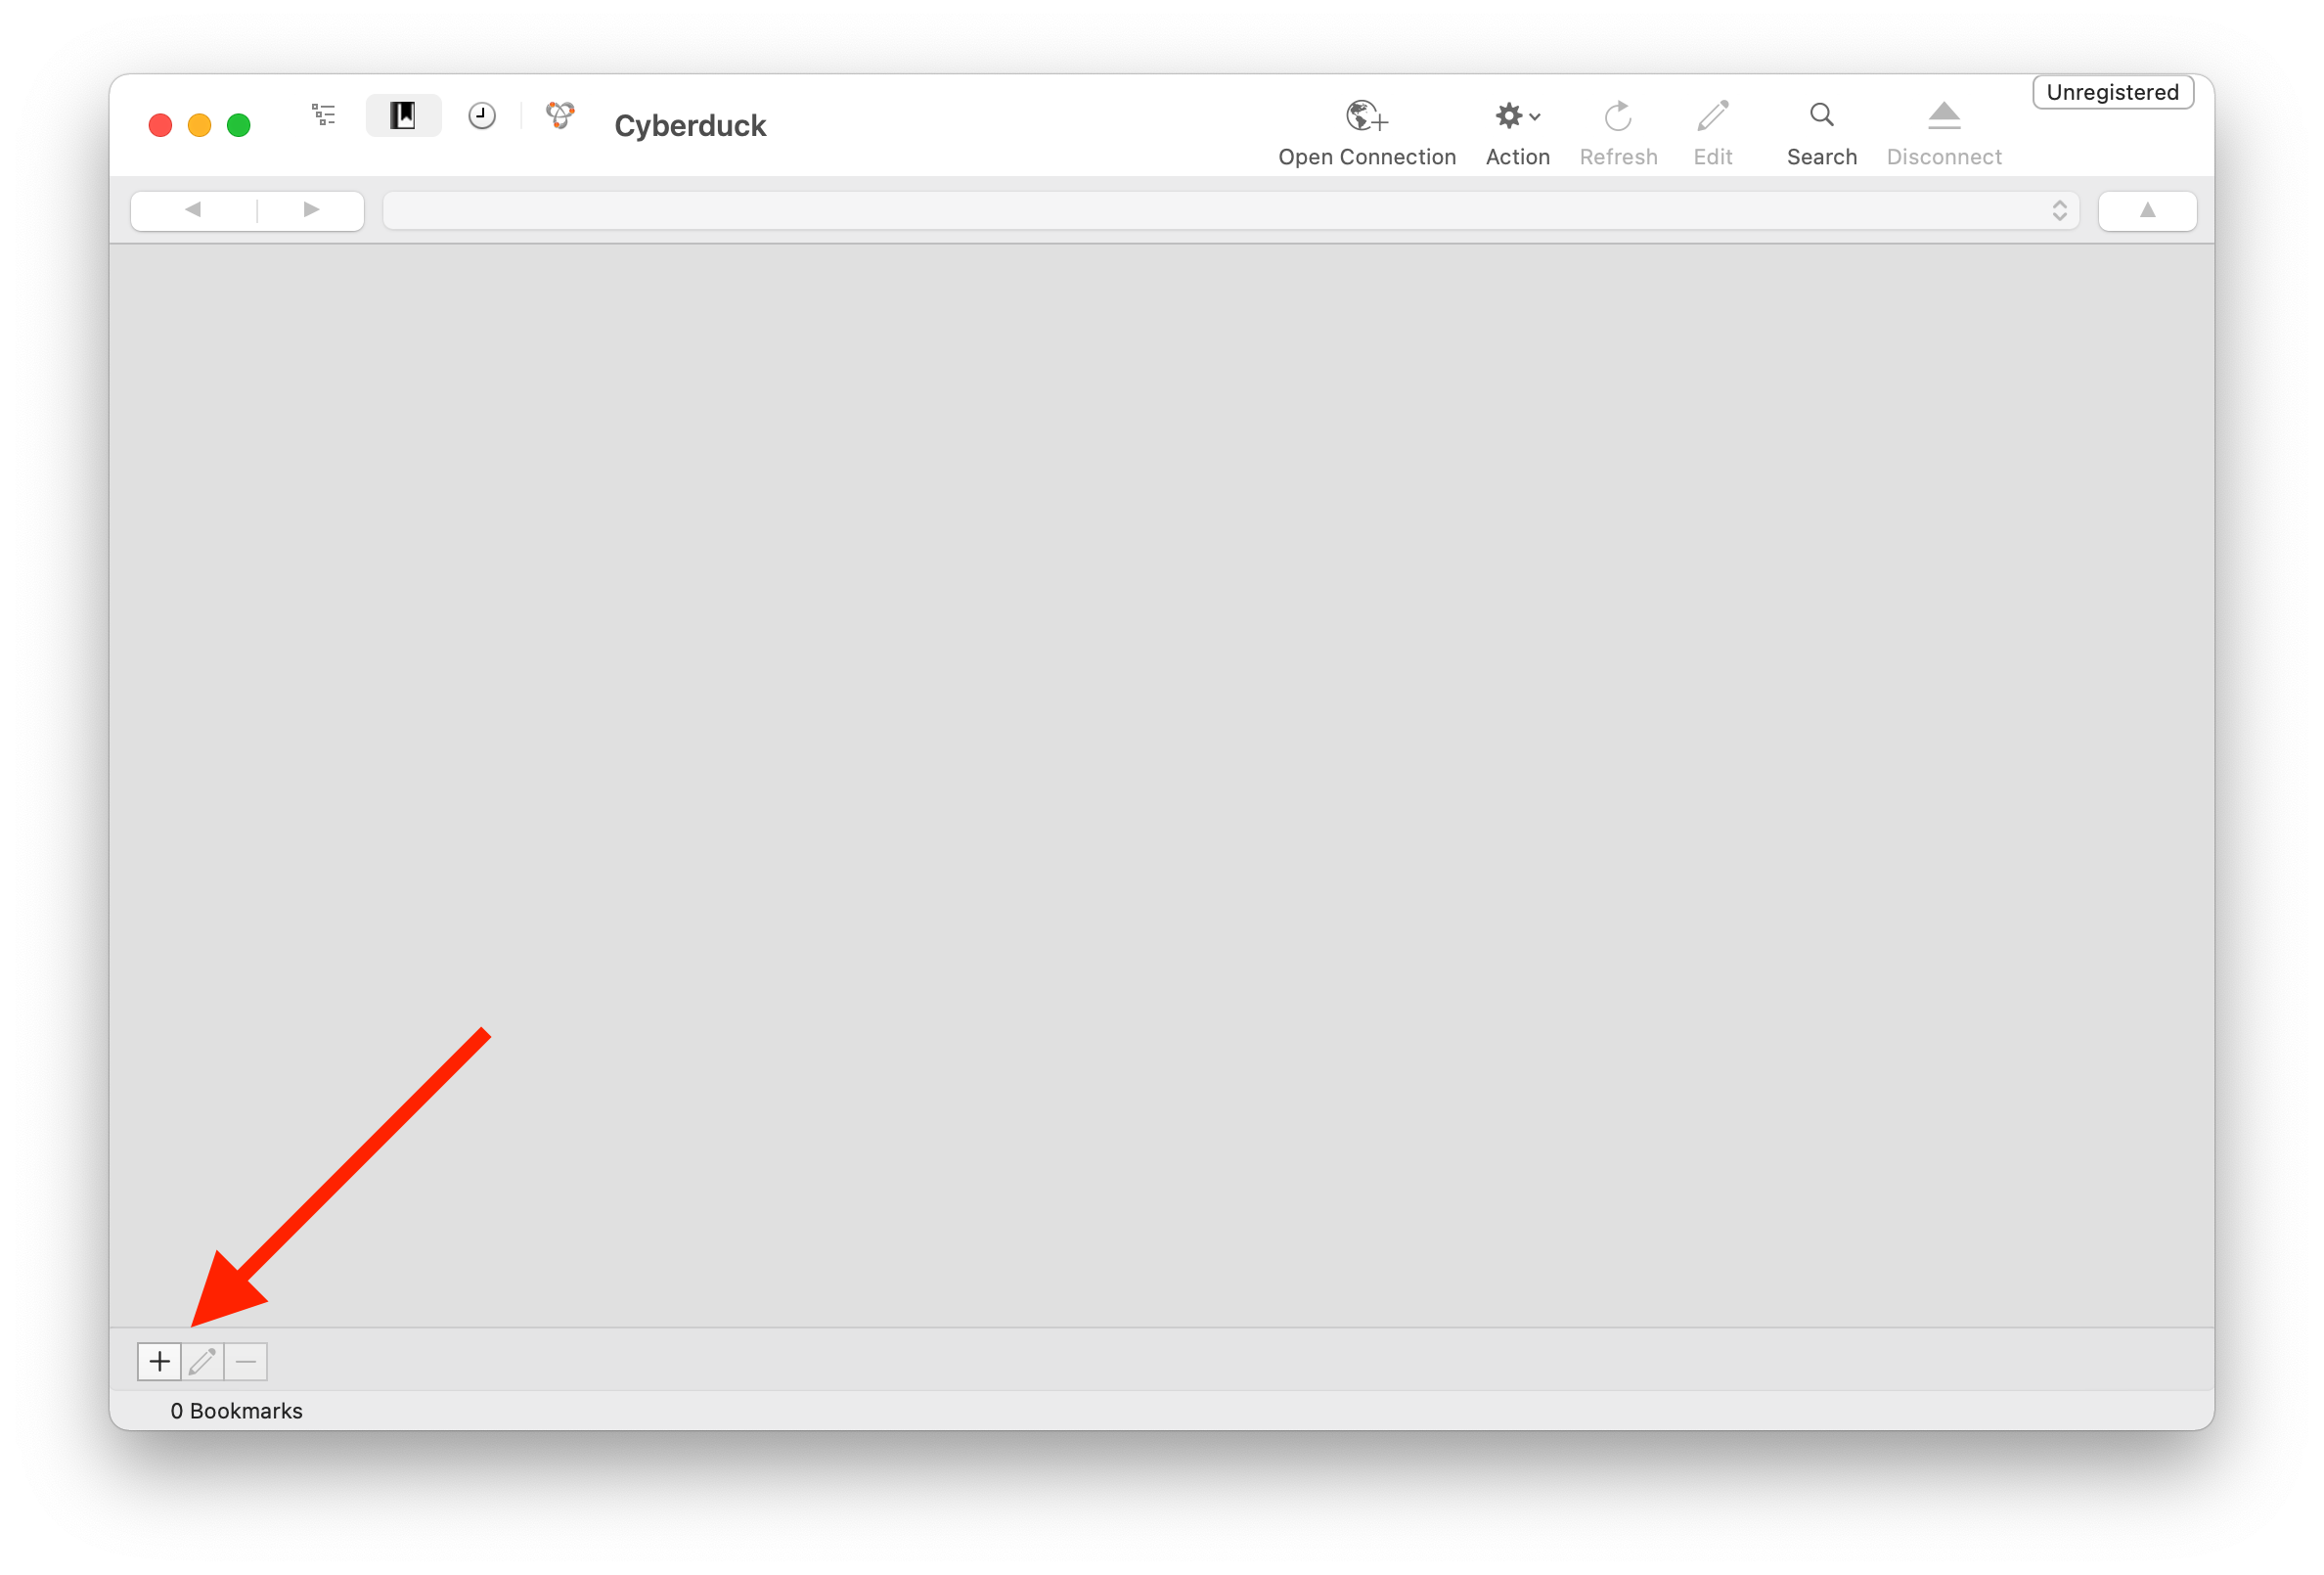
Create a new connection by clicking the + menu item in the bottom-left corner. DO NOT use the menu item in the top menu bar!
In the connection configuration, you must now enter the access details for your data. There are five fields to fill in in total – please refer to the Resource Configuration in Coscine for the relevant values.
Now that you have entered all your access data, you can establish a connection. To do this, first close the input window to save the connection as a bookmark. Then establish a connection by double-clicking the bookmark.
If all the login details have been entered correctly, you should now see the list of files contained in the record.